
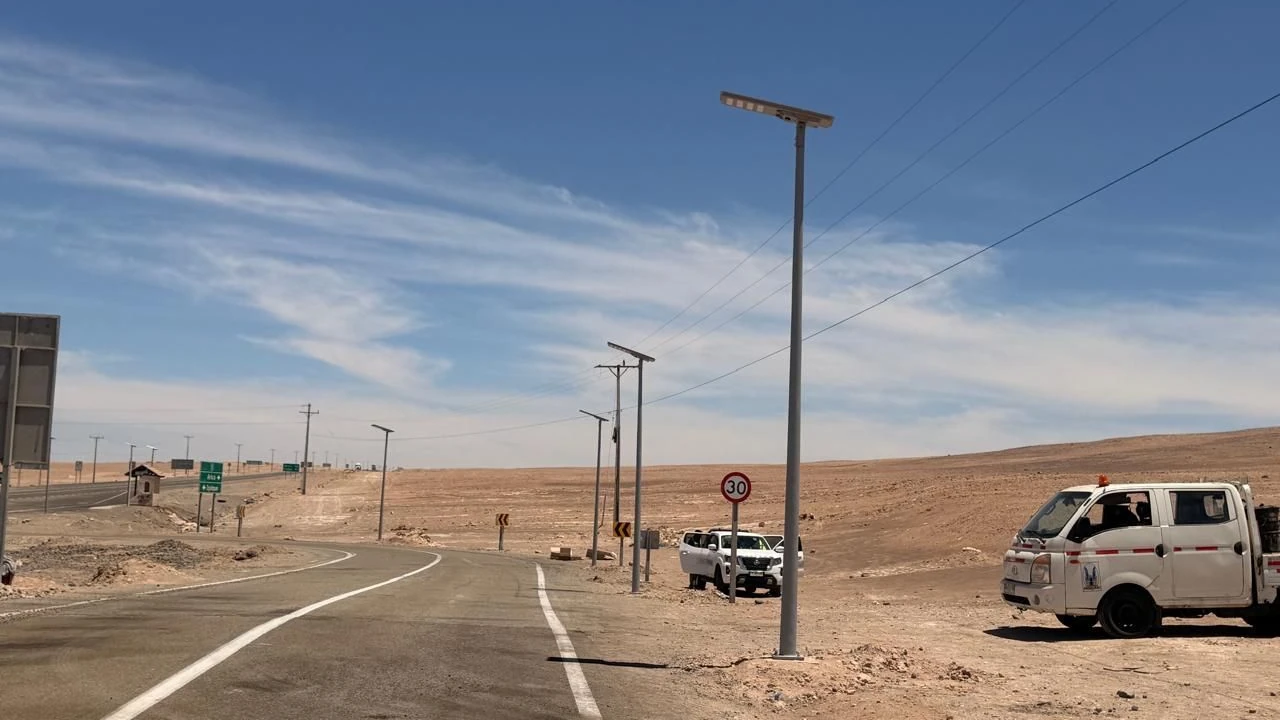
A 40 W solar street light on a 6 m pole and the same 40 W light on a 9 m pole are not the same product. The wattage is identical, the lumen figure is identical, and the road under the taller one is about half as bright. Height, spacing and luminaire flux are three separate decisions, and a quotation that gives you only the wattage has not answered any of them.
This page is the arithmetic behind those three numbers: how high the luminaire should sit for a given carriageway, how far apart the poles can stand before the light stops being uniform, how many lumens that actually takes, and what the answer costs a solar system. A worked layout runs through all of it, and the last section is a twenty-minute check you can do on site with a lux meter.
Europe's road lighting standard, EN 13201-2:2015, does not specify luminaires. It specifies the result: an average horizontal illuminance and a minimum, for a class that describes the road. The P classes cover residential streets, footways, cycle paths, car parks and pedestrian areas, and they are the ones a village or municipal project usually lands in.
| Class | Maintained average | Maintained minimum | Typical use |
|---|---|---|---|
| P1 | 15.0 lx | 3.0 lx | Busy pedestrian streets, town centres |
| P2 | 10.0 lx | 2.0 lx | Residential streets with traffic |
| P3 | 7.5 lx | 1.5 lx | Village main streets, access roads |
| P4 | 5.0 lx | 1.0 lx | Quiet residential lanes, footways |
| P5 | 3.0 lx | 0.6 lx | Low-used paths, rural footways |
| P6 | 2.0 lx | 0.4 lx | Remote paths, low priority areas |
Those figures are the maintained values from Table 3 of the standard, as summarised by lighting consultancy POLAB — meaning after the maintenance factor has been applied, not at the day of commissioning. Two notes in that table matter as much as the numbers. The first sets a ceiling: the installed average should not exceed 1.5 times the class minimum, which is the standard's way of saying that over-lighting a quiet lane is a defect, not a bonus. The second is uniformity: the ratio of minimum to average illuminance is expected to stay around 0.4, and no amount of extra flux fixes a layout that misses it.
Traffic routes use a different family. The M classes in Table 1a of the same standard are written in luminance — candelas per square metre as seen by a driver — not in lux on the ground: M5 asks for 0.5 cd/m² with a uniformity of 0.35 and a threshold increment no higher than 15%. Very few off-grid solar installations are asked to meet an M class, because the flux needed for a 9 m or 12 m carriageway is beyond what a pole-mounted panel and pack can carry through a wet week. When a project does ask, treat it as a grid-connected job or a hybrid.
Illuminance from a point source falls with the square of the distance. Take one luminaire, keep everything else identical, and raise it from 6 m to 9 m: the light directly under the pole drops to (6/9)² = 0.44 of what it was. From 6 m to 12 m it drops to 0.25. That is not a manufacturer's limitation, it is the inverse-square law, and no optic gets around it.
What the extra height buys is reach. A luminaire at 6 m with a 1 m arm covers a 6 m carriageway comfortably; the same luminaire at 12 m spreads its flux over a cone four times the area, most of which is verge, roof and sky. On a road 6 m wide, the part of that cone the road can use does not grow at all.
So the height follows the carriageway, not the catalogue:
| Carriageway width | Mounting height | Arm | Typical class |
|---|---|---|---|
| 3–4 m footway or path | 3.5–4.5 m | 0.5 m | P5 |
| 4–6 m village lane | 5–6 m | 0.8–1.0 m | P4 |
| 6–7 m village main street | 6–7 m | 1.0–1.5 m | P3 |
| 7–9 m collector road | 8–9 m | 1.5–2.0 m | P2 |
| 10 m+ arterial or square | 10–12 m | 2.0 m+ | P1, or M class |
The heights in that table are practice, not regulation: EN 13201 says nothing about how tall a pole should be, only what the road surface has to end up at. The right height is the lowest one whose beam still covers the carriageway, because every metre above that is flux the project pays for and the road never sees.
Pole spacing has no fixed value in the standard either. It falls out of two things: how far the optic throws, and how much variation the class allows between the brightest and darkest point. In practice designers work with a spacing-to-height ratio of about 3:1 to 4:1, so a 6 m pole lands 18 to 24 m from its neighbour and an 8 m pole 24 to 32 m.
Push past 4:1 and the average can still pass while the road fails. Two poles 40 m apart on a 6 m mounting height give bright pools under each luminaire and a dark stretch in the middle — the zebra effect that drivers read as an obstacle appearing out of nowhere. The average of that road may read 6 lx and the minimum 1.2 lx, a uniformity of 0.2 against the 0.4 the class expects. Averaging hides it; the driver does not.
There is one more input that decides whether the spacing is even physically buildable: the light distribution. A narrow, forward-throwing optic (IES Type II) suits a path or a narrow lane and needs poles close together. A broad asymmetric distribution (Type III) is the usual choice for a two-lane carriageway. A symmetric 360° distribution (Type V) belongs on a pole in the middle of a square, not on the edge of a road. Ask which distribution the quotation is based on; a Type II optic stretched to 4:1 spacing is how a layout ends up with a dark mid-span.
Here is the number most quotations get wrong, and it is worth doing by hand once. The average illuminance over a lit area is the luminaire flux, times how much of it lands inside the area, times the maintenance factor, divided by the area:
E_avg = Φ × CU × MF ÷ (spacing × width)
The coefficient of utilisation, CU, is the share of the flux that reaches the carriageway inside the calculation area — typically 0.25 to 0.45 for a street optic, and the single most variable number in the whole exercise. The maintenance factor, MF, accounts for dirt on the lens and lumen depreciation over the service interval; 0.80 is a reasonable figure for a clean site with a five-year cleaning cycle, and a quotation claiming 0.95 for a roadside luminaire is describing a laboratory.
Put two 40 W luminaires through that formula at the same spacing and the wattage stops meaning anything:
| Luminaire | Efficacy | Flux | CU | Flux on the road |
|---|---|---|---|---|
| A | 130 lm/W | 5,200 lm | 0.25 | 1,300 lm |
| B | 160 lm/W | 6,400 lm | 0.40 | 2,560 lm |
Same wattage, same nominal product category, twice the light on the asphalt. The gap comes from the LED and the optic together, and the optic is usually the bigger half: a 10–15% loss through a flat diffuser is normal, and a poorly aimed arm can put a fifth of the flux on the verge.
The other trap is which lumen figure is being quoted. Chip lumens are what the LEDs produce on a bench; fixture lumens are what leaves the housing after the optic and the glass; road lumens are what the calculation says lands on the carriageway. Only the third one is a lighting design input, and only the second one belongs in a specification.
Three hundred metres of village main street, 6 m wide, asphalt, mixed pedestrians and light vehicle traffic. The client wants P3.
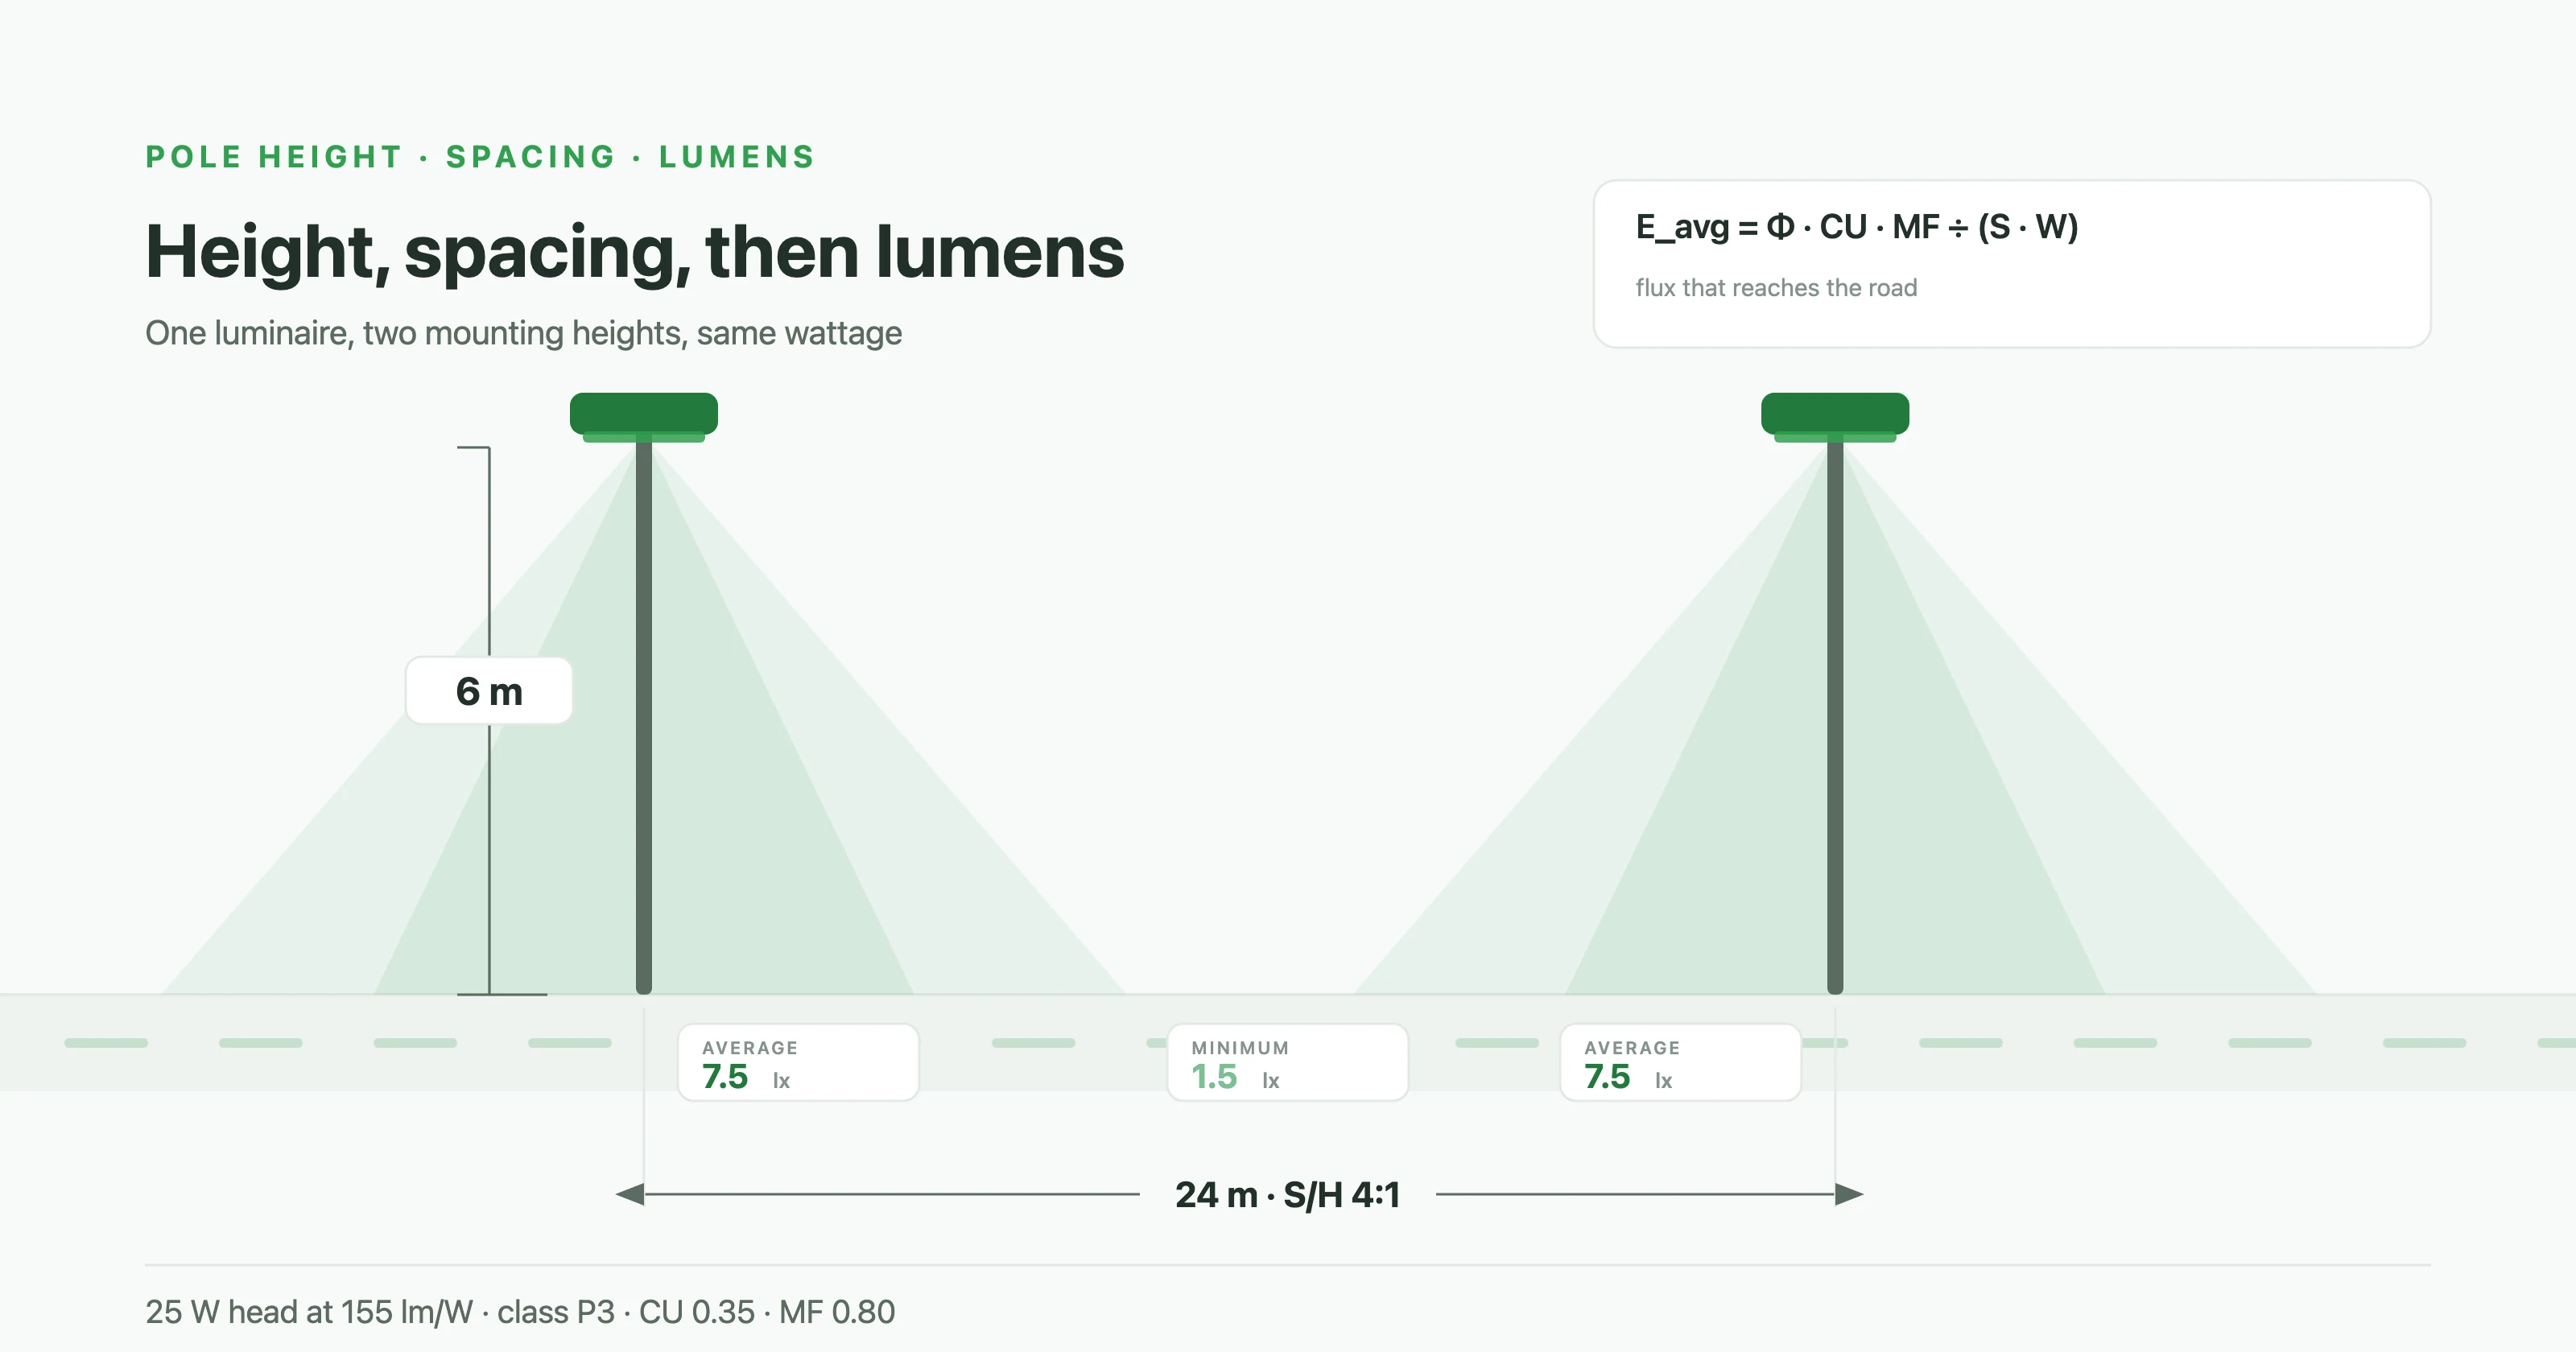
A 25 W head at 155 lm/W gives 3,875 lm, which lands on the requirement with nothing to spare, and that is the right way round: pick the flux from the class, then find the wattage, then size the solar system for that wattage and the site's worst month. Choose the luminaire first and the class becomes whatever the catalogue happened to deliver.
Now change one input and watch the system move. Raise the poles to 9 m to clear a tree line, keep the same spacing and the same flux: illuminance falls by (6/9)², so the road drops to about 3.3 lx and out of P3. To recover it, flux has to rise by the same factor, to roughly 8,700 lm — a 56 W head instead of 25 W. Nightly energy more than doubles, and with it the panel, the pack and the price. That is the honest cost of the taller pole, and it is why height should be argued from the road, the trees and the arm, never from how the pole looks.
An off-grid luminaire pays for its own light. Nightly energy is the head wattage times the hours, adjusted by the dimming profile, and the panel and the battery are sized from that number. Doubling the flux roughly doubles the nightly watt-hours, and both the panel and the pack follow: a 40 W head running 11 hours on a profile that dims to 40% after midnight draws about 296 Wh, which is a 90 W panel and a 60 Ah pack at 25.6 V. A 56 W head on the same profile needs about 160 W of panel and 110 Ah of pack.
That is the whole argument for getting the height and spacing right before the photometry is ordered. Every metre of unnecessary pole height and every metre of unnecessary spacing is paid three times: once in the pole, once in the panel and pack, and once in the freight, because lithium packs ship by the kilogram and by the watt-hour. The sizing method covers the second half of that calculation in detail. The taller pole also carries more wind: the same head at 9 m puts about twice the bending moment into the base as it does at 6 m, and the wind load calculation is where that section is checked against the design wind speed of the site.
Each line below removes one assumption from the supplier's side of the table, and each one is a number you can check when the quotation comes back.
| Field | What to write |
|---|---|
| Lighting class | P3, or the local equivalent |
| Carriageway | 6 m asphalt, mixed pedestrians |
| Mounting height and arm | 6 m, 1 m arm, single side |
| Spacing | 24 m, 16 poles |
| Tilt | 0°, no upward tilt |
| Flux required | 3,900 lm per luminaire, fixture lumens |
| CU and MF assumed | State both; ask for the source |
| Photometric file | .ldt or .ies for the exact luminaire |
| Calculation report | DIALux or Relux, with the grid and the uniformity |
The last two lines are the ones worth insisting on. A photometric file is the only way to check a claim without installing the product, and a calculation report shows whether the average came from the optic or from a spreadsheet assumption. A supplier who cannot produce either is guessing, and the guess will be discovered by the first person who walks the road with a meter.
You do not need a laboratory to find out whether the layout works. A calibrated lux meter, a dark night and twenty minutes will do it.
Measure at road surface level, not at chest height, and measure after the ambient light has gone — a measurement taken at dusk reads high by a factor that depends on the sky. Take three points per span: directly under a luminaire, at mid-span, and a quarter of the way along. Write them down span by span, then compute the average of all points and the lowest one.
Compare the average with the class figure, then divide the lowest by the average. If the average is 7.8 lx and the minimum is 1.1 lx, the uniformity is 0.14 and the road fails P3 even though the average looks healthy. That pattern — passing average, failing uniformity — is what an over-stretched spacing ratio looks like in the field, and it is the most common defect we see in installations that were bought on wattage.
Two more things worth checking while you are out there. Look along the road from a driver's eye height at 50 m back: if you can see the LED array itself rather than the pool of light, the luminaire is aimed too high or mounted too low, and the glare will be worse in rain. And check the first and last pole of the run, because a layout that was designed to end at a property line often leaves a black gap exactly where pedestrians cross.
What pole height should a solar street light have on a 6 m road? Six metres with a 1 m arm, mounted on one side, is the usual answer for a 6 m village carriageway: it puts the optic over the centre of the lane without throwing flux past the far kerb. Going to 8 or 9 m only helps if a tree line or a sign forces the luminaire up, and then the flux has to rise with the square of the height.
How many lumens do I need for a 40 W solar street light? Wattage is not a photometric unit, so the question has to be turned around. At 155 lm/W a 40 W head produces about 6,200 lm, and on a 6 m pole with a 0.35 coefficient of utilisation and a 0.80 maintenance factor that supports roughly 30 m spacing at P3. If a supplier quotes 40 W without a lumen figure, an optic type and a calculation, the wattage tells you nothing about the road.
Can I stretch the spacing to save poles? Up to about 4 times the mounting height, and no further. Beyond that the average illuminance can still pass while the minimum collapses, and the road develops dark gaps between pools of light. On a tight budget, fewer poles with a wider optic beats fewer poles with a narrow one, because the optic is what carries the light along the road.
Does a taller pole reduce glare? Yes. Threshold increment falls roughly with the square of the mounting height, which is why arterial lighting sits at 10–12 m. The trade is flux: the same road at 9 m instead of 6 m needs about 2.25 times the lumens, and on an off-grid system that means a larger panel, a larger pack and a heavier pole.
What tilt should the luminaire have? Zero degrees, with the beam shaped by the optic instead. Upward tilt pushes light into the driver's eyes and into the sky, and most dark-sky and municipal specifications now limit it. A luminaire that needs 15° of tilt to reach the far kerb is the wrong optic for the road, not a mounting problem.
If you are sizing a street or a village road and want the pole height, the spacing and the flux checked against a class before anything is ordered, send the carriageway width, the road length, the mounting height you have in mind and the class the project has to meet — we will return the layout, the lumens and the photometric file behind it, and tell you what the numbers imply for the solar side. For the product range those numbers describe, start with the solar LED street light, and for the operating cost of the same road, the five-year comparison against grid power runs both cases.
Our 25-engineer team provides free project consultation and fast, accurate quotations.
Get a Quote